Imagine throwing the ultimate outdoor party, music blasting, good vibes flowing… all powered by the sun! Sounds too good to be true? It's not! Solar-charging your outdoor sound system or DJ setup is not only possible but also a fantastic way to be eco-friendly while keeping the music going all day (and night) long.
Setting up a sound system outdoors can bring some headaches. Finding a reliable power source can be a real challenge, especially in remote locations. Extension cords can be tripping hazards and a drag to manage. Not to mention, the constant hum of a generator can kill the mood faster than a bad song choice. And who wants to deal with the guilt of burning fossil fuels just to power your party?
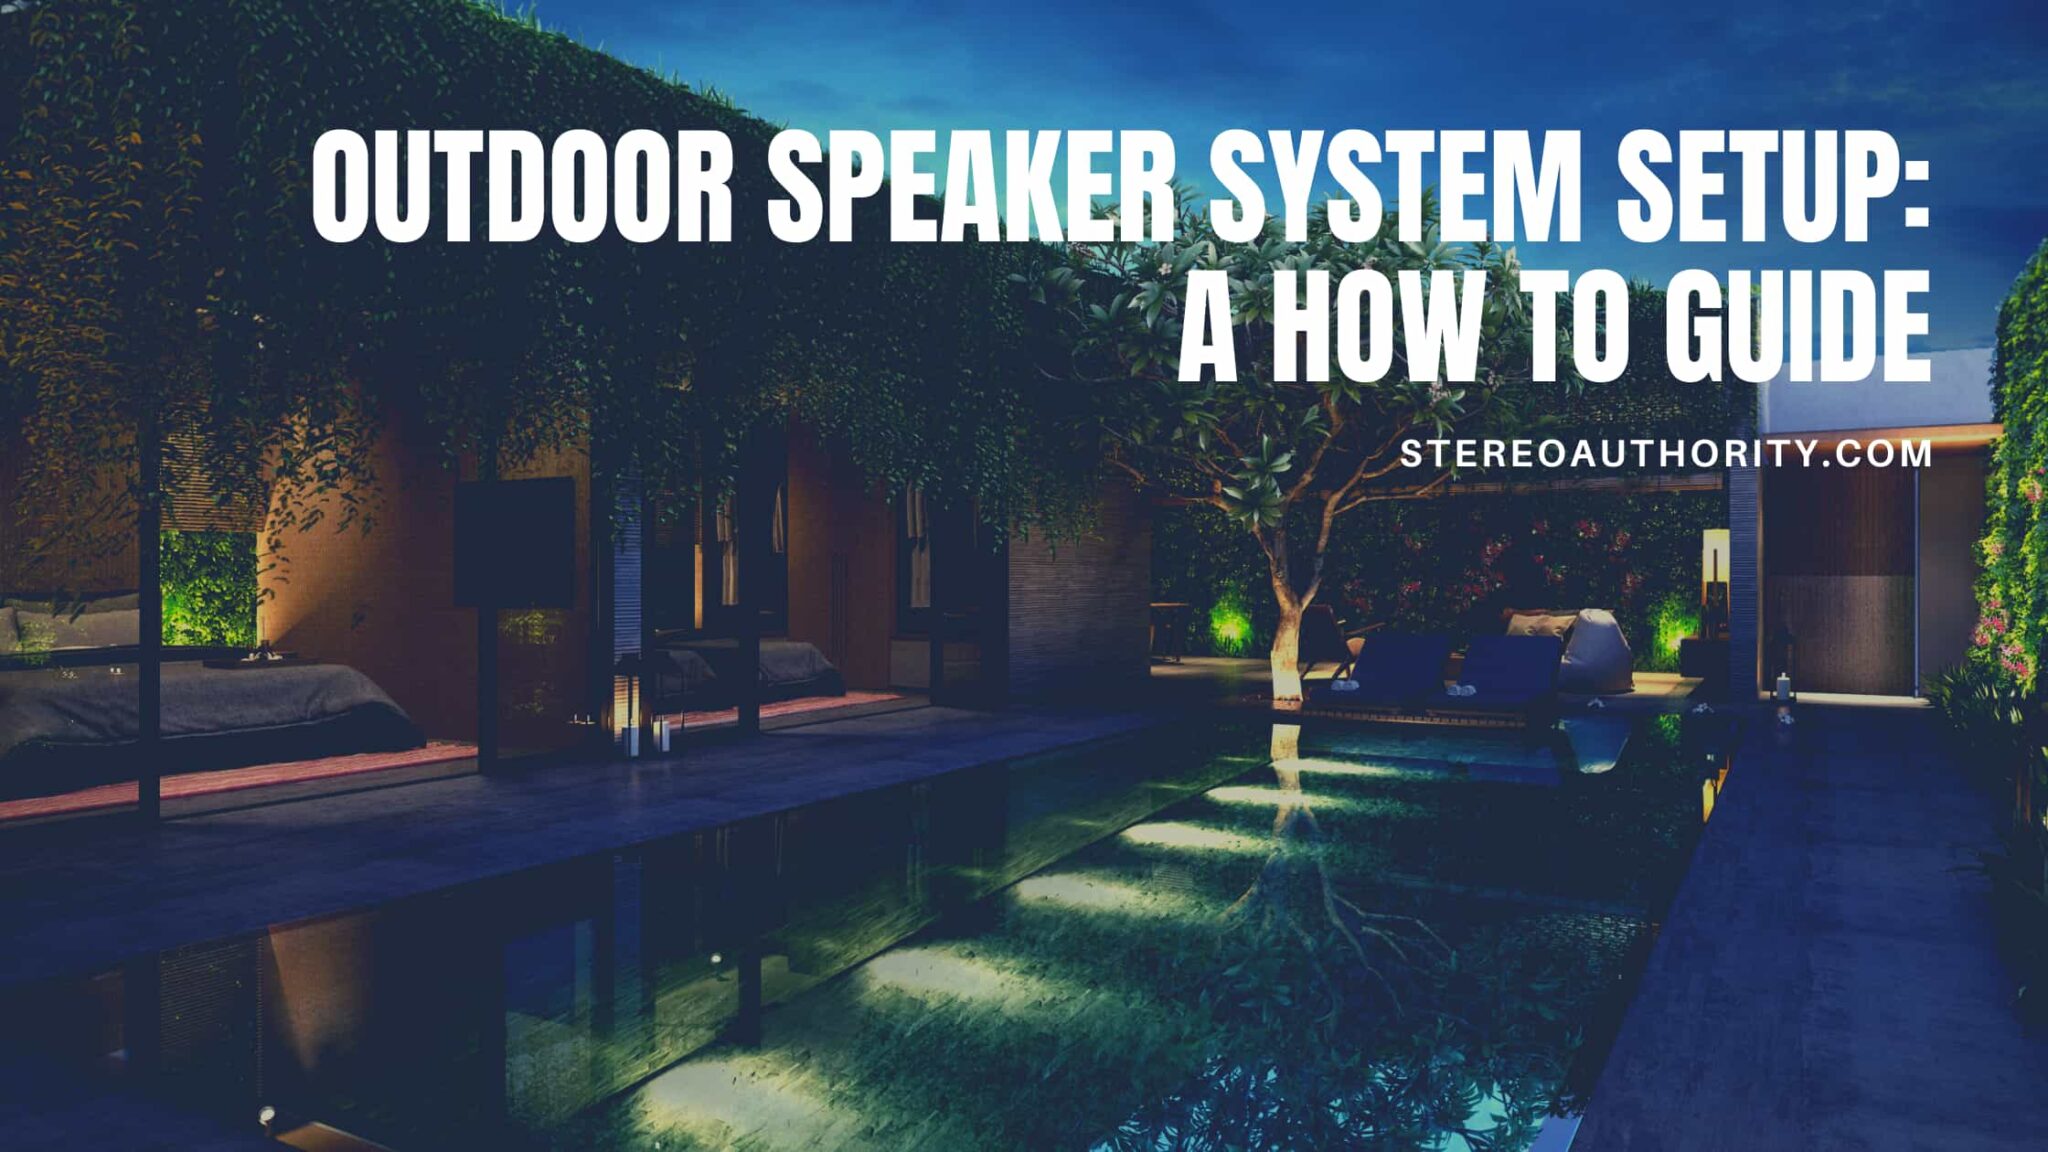
This guide will walk you through the process of solar-charging your outdoor sound system or DJ setup. We'll cover everything from assessing your power needs and selecting the right solar equipment to setting up your system and troubleshooting potential issues. Get ready to ditch the grid and embrace the power of the sun!
In this guide, we've broken down the process of powering your outdoor sound with solar energy into manageable steps. From determining your energy requirements and choosing the appropriate solar panels and batteries to understanding inverters and setting up a safe and efficient system, you'll gain the knowledge and confidence to throw unforgettable, eco-friendly events. We'll also touch upon practical tips, troubleshooting, and fun facts to make your solar journey even smoother. Let's get started!
My First Solar-Powered Gig: A Learning Experience
I'll never forget my first attempt at a solar-powered outdoor gig. I was DJing a small gathering in a remote park, and I was determined to avoid using a noisy, gas-guzzling generator. I cobbled together a solar panel, a deep-cycle battery I borrowed from my RV, and a cheap inverter. Confident, I set everything up, plugged in my equipment, and started playing. The music sounded great, the crowd was loving it... for about an hour. Then, the bass started to distort, the lights flickered, and silence. My battery had died a dramatic death, leaving me with a very disappointed audience and a valuable lesson learned.
That experience taught me the importance of properly calculating power needs, choosing the right equipment, and having a backup plan. I realized that solar power isn't just about slapping a panel on something and hoping for the best. It requires careful planning and understanding of the components involved. Now, I always recommend starting with a thorough assessment of your equipment's power consumption. Each piece of your setup – speakers, mixer, lights, laptop – draws a certain amount of power. Add it all up, and then factor in a buffer (around 20%) to account for unexpected surges or inefficiencies. This will give you a realistic estimate of the battery capacity and solar panel wattage you need. Remember, underestimating your power needs is a surefire way to end up with a silent party.
Understanding Your Power Needs
Before you even think about solar panels, you need to understand how much power your sound system and DJ equipment consume. This is measured in watts (W). Each piece of equipment should have a label indicating its power consumption. Add up the wattage of all the devices you plan to run simultaneously. This will give you the total wattage you need to supply. However, wattage is just one piece of the puzzle. You also need to consider how long you plan to run the system. This is where amp-hours (Ah) come in. Ah is a measure of the amount of electrical charge a battery can store. To calculate the Ah you need, multiply the total wattage by the number of hours you plan to use the system, and then divide by the voltage of your battery (typically 12V).
For example, let's say your system draws 300W and you want to run it for 5 hours using a 12V battery. The calculation would be: (300W x 5 hours) / 12V = 125Ah. This means you'll need a battery with at least 125Ah capacity. It's always a good idea to overestimate your needs slightly to account for inefficiencies and ensure you have enough power to last. Once you know your Ah requirement, you can start looking at solar panels to recharge your battery. The size and number of solar panels you need will depend on the amount of sunlight you receive in your location and the charging capacity of your panels. Look for panels with a high wattage rating and consider investing in a charge controller to regulate the flow of electricity to your battery and prevent overcharging.
The History and Myth of Solar Power for Sound Systems
The idea of using solar power for sound systems might seem like a relatively recent development, driven by environmental concerns and technological advancements. However, the concept has surprisingly deep roots. The earliest experiments with solar energy date back to the 19th century, with scientists exploring ways to harness the sun's power for various applications. While large-scale solar-powered sound systems weren't feasible back then, the underlying principles were being established.
One common myth is that solar power is unreliable and only suitable for small, low-power applications. This is simply not true. Modern solar technology has advanced significantly, with high-efficiency panels and sophisticated battery storage systems capable of powering even demanding setups. Another misconception is that solar power is prohibitively expensive. While the initial investment can be higher than relying on traditional power sources, the long-term cost savings and environmental benefits often outweigh the upfront expense. Furthermore, government incentives and tax credits can help offset the cost of solar equipment. The truth is, solar power is becoming increasingly accessible and affordable, making it a viable option for powering sound systems of all sizes.
Hidden Secrets of Efficient Solar Charging
Beyond the basic components, there are a few "hidden secrets" that can significantly improve the efficiency of your solar charging system. One key factor is panel placement. The angle and orientation of your solar panels have a direct impact on how much sunlight they capture. For optimal performance, panels should be angled towards the sun and adjusted throughout the day to track its movement. There are even automatic solar trackers available that can do this for you, though they add to the cost and complexity of the system.
Another often-overlooked aspect is cable management. Using the correct gauge of cable is crucial to minimize voltage drop and ensure that power reaches your equipment efficiently. Thicker cables have lower resistance and can handle higher currents, reducing energy loss. Also, keep cable runs as short as possible to further minimize voltage drop. Don't underestimate the impact of small inefficiencies. Over time, these seemingly minor details can add up to significant energy savings and improved system performance. Finally, consider using energy-efficient equipment wherever possible. LED lighting, for example, consumes significantly less power than traditional incandescent bulbs, allowing you to extend your battery life and reduce your solar panel requirements.
Recommendations for Solar Equipment and Setup
Choosing the right equipment is essential for a successful solar-powered sound system. For solar panels, look for monocrystalline panels, which are generally more efficient and perform better in low-light conditions compared to polycrystalline panels. A good starting point would be a 200W to 400W panel, depending on your power needs. Renogy and HQST are reputable brands to consider. When it comes to batteries, deep-cycle batteries are a must. These batteries are designed to be discharged and recharged repeatedly without damage, unlike car batteries. Lithium-ion batteries are more expensive but offer higher energy density, longer lifespan, and faster charging times. Optima and Battle Born are popular brands.
An inverter is necessary to convert the DC power from your battery into AC power that your equipment can use. Choose an inverter with a wattage rating that exceeds the total wattage of your equipment. Consider a pure sine wave inverter, which provides a cleaner and more stable power output compared to a modified sine wave inverter. This can protect your sensitive electronic equipment from damage. Brands like Go Power! and Victron Energy are known for their high-quality inverters. Finally, don't forget a charge controller. This device regulates the flow of electricity from your solar panels to your battery, preventing overcharging and extending battery life. MPPT charge controllers are more efficient than PWM charge controllers, especially in low-light conditions. Morningstar and Epever are reliable brands to consider.
Understanding Charge Controllers
A charge controller is the unsung hero of your solar power system. Its primary function is to regulate the voltage and current coming from your solar panels to your battery, preventing overcharging. Overcharging can damage your battery, shorten its lifespan, and even create a fire hazard. Think of the charge controller as a smart traffic cop, directing the flow of electrons to ensure everything stays safe and efficient. There are two main types of charge controllers: PWM (Pulse Width Modulation) and MPPT (Maximum Power Point Tracking). PWM controllers are simpler and less expensive, but they are also less efficient. They essentially clip the voltage from the solar panel to match the battery voltage, wasting some of the available power.
MPPT controllers, on the other hand, are more sophisticated. They use an algorithm to find the maximum power point of the solar panel, allowing them to extract more energy from the sun. This is particularly beneficial in low-light conditions or when the panel is partially shaded. While MPPT controllers are more expensive, they can significantly improve the overall efficiency of your solar charging system, especially if you have a large solar array or frequently operate in less-than-ideal conditions. When choosing a charge controller, make sure it's compatible with your battery type and voltage. Also, check the maximum input voltage and current ratings to ensure they can handle the output from your solar panels. Investing in a high-quality charge controller is a wise decision that will protect your battery and optimize the performance of your solar power system.
Tips for Maximizing Solar Energy Capture
Getting the most out of your solar setup isn't just about the equipment; it's about how you use it. The first tip is all about location, location, location! Find a spot that gets unobstructed sunlight throughout the day. Trees, buildings, and even clouds can significantly reduce the amount of energy your panels capture. Keep your panels clean. Dust, dirt, and bird droppings can block sunlight and reduce efficiency. Regularly wipe down your panels with a soft cloth and water. Avoid using harsh chemicals or abrasive cleaners. Monitor your system's performance. Many charge controllers and inverters have built-in displays that show you how much power your panels are generating and how much your battery is charged.
Pay attention to these readings and make adjustments as needed. Consider using a solar power meter to track your energy production over time. Upgrade your system as needed. As your power needs grow, you may need to add more solar panels or a larger battery. Don't be afraid to expand your system to meet your evolving requirements. And finally, be patient. Solar power is not always instantaneous. It takes time for your panels to charge your battery, especially on cloudy days. Don't get discouraged if you don't see immediate results. With careful planning and consistent effort, you can harness the power of the sun to keep your music playing all day long.
Troubleshooting Common Solar Charging Issues
Even with the best equipment and setup, you may encounter some challenges along the way. One common issue is slow charging. This could be due to several factors, including insufficient sunlight, dirty panels, a faulty charge controller, or a worn-out battery. Start by checking the basics: make sure your panels are clean and getting direct sunlight. Then, inspect your charge controller for any error codes or warning lights. Finally, test your battery to see if it's holding a charge. Another common problem is voltage drop. This occurs when the voltage at your equipment is lower than the voltage at your battery. This can be caused by long cable runs, undersized cables, or loose connections.
To troubleshoot voltage drop, shorten your cable runs, use thicker cables, and ensure that all connections are tight and secure. Another potential issue is inverter overload. This happens when you try to draw more power from the inverter than it can handle. This can damage the inverter and trip a circuit breaker. To avoid inverter overload, make sure your inverter has a wattage rating that exceeds the total wattage of your equipment. If you're still experiencing problems, try reducing the number of devices you're running simultaneously. If you're unsure about any of these issues, consult with a qualified solar technician. They can help you diagnose the problem and recommend the appropriate solution. Remember, safety is always the top priority when working with electricity.
Fun Facts About Solar-Powered Music
Did you know that solar-powered music festivals are becoming increasingly popular? Events like Rainbow Serpent in Australia and Boom Festival in Portugal are leading the way in sustainable music production, using solar power to run stages, lighting, and even camping facilities. In fact, it is also possible to use solar powered generators. It is really possible to enjoy amazing music sustainably.
Solar powered music is not only good for the environment, but also can create unique sonic experiences. For example, some artists have created solar-powered instruments that respond to sunlight, creating music that changes throughout the day. How cool is that?
Think about, solar-powered sound systems are becoming increasingly accessible and affordable. The prices of solar panels and batteries have dropped dramatically in recent years, making it easier for anyone to harness the power of the sun. In that case, it is fun to invest into this world with sustainable resources. This has opened up new possibilities for musicians, DJs, and event organizers who want to reduce their environmental impact and save money on electricity bills. So, the next time you're planning an outdoor event, consider going solar. You might be surprised at how easy and rewarding it can be.
Step-by-Step Guide to Setting Up Your System
Now that you understand the basics, let's walk through the steps of setting up your solar-powered sound system. First, gather your equipment. This includes solar panels, a deep-cycle battery, a charge controller, an inverter, cables, and connectors. Choose a location for your solar panels that gets plenty of sunlight. Securely mount the panels using a mounting system designed for your specific panel type. Connect the solar panels to the charge controller using the appropriate gauge of cable. Make sure to observe the correct polarity (+ and -). Connect the charge controller to the battery using another set of cables. Again, pay attention to polarity. Connect the inverter to the battery.
Finally, connect your sound system and DJ equipment to the inverter. Before turning everything on, double-check all your connections. Make sure everything is secure and that there are no exposed wires. Turn on the inverter and test your system. If everything is working correctly, you should hear music playing through your speakers. Monitor your system's performance and make adjustments as needed. Keep an eye on the battery level and the power output from your solar panels. If you notice any problems, turn off the system and troubleshoot the issue. Remember, safety is paramount. Always disconnect the power before working on any electrical connections.
What If You Run Out of Power? Backup Strategies
Even with careful planning, there's always a chance that you could run out of power. What if the sun doesn't shine? What if your battery isn't fully charged? What if your equipment draws more power than you expected? Having a backup plan is essential. One option is to have a secondary battery on hand. This will give you extra power to keep the music going if your primary battery runs out. Make sure the secondary battery is fully charged before your event. Another option is to have a small, portable generator as a backup. While this defeats the purpose of using solar power, it's better than having silence. Choose a generator that's quiet and fuel-efficient.
A third option is to reduce your power consumption. Turn off any unnecessary equipment, such as lights or amplifiers. Lower the volume of your music. This will help conserve power and extend your battery life. A fourth option is to have a friend or neighbor with a power outlet nearby. If you run out of power, you can temporarily plug into their outlet until your battery recharges. Before your event, make sure your friend or neighbor is aware of your plan and that they're willing to help. A final option is to call it a night. Sometimes, the best solution is simply to accept that you're out of power and to end the event gracefully. This is better than risking damage to your equipment or causing a safety hazard.
Top 5 Benefits of Solar-Charging Your Sound System
Here's a quick listicle highlighting the key advantages of going solar:
1.Eco-Friendly: Reduce your carbon footprint and contribute to a cleaner planet. Solar power is a renewable energy source that doesn't produce greenhouse gases or pollutants.
2.Cost Savings: Eliminate or reduce your reliance on grid power or generators, saving you money on electricity bills or fuel costs. The cost of solar equipment has decreased dramatically in recent years, making it a more affordable option than ever.
3.Portability: Enjoy music in remote locations where grid power is unavailable. Solar power allows you to set up your sound system anywhere the sun shines.
4.Quiet Operation: Say goodbye to noisy generators that can disrupt the atmosphere of your event. Solar power is silent and unobtrusive.
5.Reliability: With proper planning and maintenance, solar power can provide a reliable source of energy for your sound system. High-quality solar panels and batteries can last for many years, providing you with consistent power.
In sum, solar-charging your sound system is a win-win situation for you and the environment.
Question and Answer
Q: How much does it cost to solar-charge a sound system?
A: The cost depends on the size of your system and the quality of the equipment. A basic setup with a 200W solar panel, a 100Ah battery, and an inverter could cost around $500-$1000. Larger systems with more power and features can cost significantly more.
Q: Can I use a car battery for my solar setup?
A: While you technicallycan, it's not recommended. Car batteries are designed for short bursts of high current, while deep-cycle batteries are designed for sustained discharge. Using a car battery for your solar setup will shorten its lifespan.
Q: How long will my battery last?
A: Battery life depends on the size of your battery and the power consumption of your equipment. A 100Ah battery can typically power a 100W system for about 10 hours.
Q: What happens on cloudy days?
A: Solar panels still generate some power on cloudy days, but at a reduced rate. To compensate for this, you can use a larger solar panel or have a backup battery.
Conclusion of How to Solar-Charge an Outdoor Sound System
Solar-charging your outdoor sound system or DJ setup is an achievable and rewarding endeavor. By understanding your power needs, selecting the right equipment, and following the tips and guidelines outlined in this guide, you can enjoy music in any location, powered by the sun. Embracing solar power not only reduces your environmental impact but also offers cost savings and the freedom to create unforgettable, eco-friendly events. So, go ahead, harness the power of the sun, and let the music play!